Do you remember these???? Shrinky Dinks?? Ha! OMGosh I hadn't thought of these in YEARS!! (Ok wait... not THAT many years!!! ;-) ) But seriously... have you tried stamping on them??? Talk about FUN!!! Even my daughter had to get in on the act. And of course, it's not even so much about the coloring or stamping for her.. it was more about WATCHING it shrink!!! I could color blocks all day just to sit and watch them go down in size. My project today serve two areas... 1) I had been dying to mess with these since I found them... and 2) I REALLY wanted something special and handmade I could give to my fellow planner friends as a RAK (random act of kindness). Ta Dah!!! Enter the Shrinky Dinks!!!
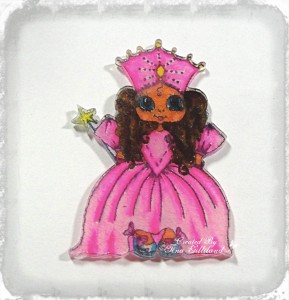
THIS is where my Shrinky Dink ended up!! I took this adorable Sherri Baldy image, "Princess Sparkle" and made her into a cute page marker that I could send off to my friends. Soooo fun!!! I can't wait to hear how they like them!!! Here's how this fun Shrinky Dinks work....
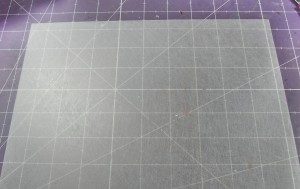
The come in a pretty thick sheet and my pack came with some creme color sheets, brown and black sheets. I took a clear which when you pick it up you realize, one side is rough and frosted. Basically, sanded for you ahead of time so your colors, stamped image, etc. adhere to it well.
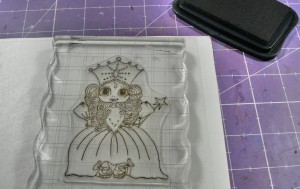
I stamped my image using Memento Tuxedo Black ink and let it sit for about five minutes before beginning to color it in.
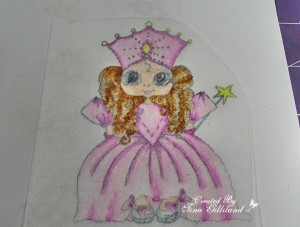
Now don't worry so much about how light it appears when you color it. I used my Copic Sketch markers to fill in my image. As you can see below.. I added some pretty bright colors but because of the frosted rough side, it doesn't look so bright. Wait for it... Next I cut the image out pretty close to the lines.
And THIS is how she comes out of the oven. WAY brighter than you expected, right? As you can see, it's possible to do some shading but honestly, it's a bit tough to do, as you can see in my hair. I definitely highlighted it but since things "scrunch" up so much in the shrinking process, it's kind of hard to keep the colors separated.
Here you can see the difference in size (my daughter stamped one to color and it's not perfect, but she didn't care. Ha!)
I glued the large style paper clip to the back and it's done! Ready for your pages, or your planner. I've already done an adorable frog for myself and I can't wait to make more personal paper clips for all my friends. You can make earrings, necklaces and brooches as well with these fun sheets. Give it a try. I bet you'll become addicted.
Thanks for stopping by today and remember to stop back tomorrow for even more inspiration from the Design Team! Have a fabulous Saturday! *HUGS*
Copics I used:


2 comments:
LOL....haven't remembered making these in sooooo long! Would be great fun to do with my grandaughter (-:
Hugs
Linda
I totally love using shrink film! I made my cousin some beaded glass charms using this stuff a few years ago, and I pull them out whenever my little cousins or tutorial kids need something fun to do. You know they can't use my Copics, though. They look great with colored pencil too! :-D
Post a Comment